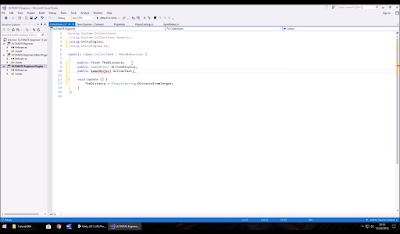
In todays Unity tutorial lab, we explored how to add more UI effects to the scene. Action text is essential because the player needs to know what to do when they come to a certain point on screen, adding action text will inform the player what to do, like in the game I hope to make, the player will have to run around and collect certain items so this was really helpful for me to understand today so I can reference this in my own game. We added a script using the public GameObject command and also a command for when the mouse hovers over something on the screen.
I find writing the script to be easy enough when following the tutorials because it's pretty much just step by step, however I can't see it being as simple to follow when I go to execute the script into the actual game myself, but we will see when the time comes. After writing the script and saving it into my scene I did get an error message but when I went looking back I was just missing a semi colon in my text so it was easily solved. The tutorial also informed us how to add a sound, so when you pick up your item, it can play whatever sound you like - I really like this feature.
(Executing script in Unity - Source: Tutorial screenshot)
We next looked at how to add some more environment, by importing a white fence into the game and adding a texture. Building the environment is one of my favourite parts about Unity, it reminds me of a time when I used to play The Sims computer games as a child, and building houses and designing their environments and surroundings. The animation and applying keyframes part in Unity is also something I enjoyed learning about. Objects that animate and move make them appear so much more realistic and I can see this feature being used a lot when making my Game later on - I did have to rewind the tutorial when he was playing around with the keyframes, as I found it confusing at first.
Layers are a way that we can provide an extra camera to render a certain layer so as we do not clip our weapon into certain objects. We added a layer to our axe and had to tell the camera not to render that particular layer. This part of the tutorial was tricky enough to understand, again I had to rewind. A useful tool to use going forward though, as the weapon never clips onto anything and ill always be on top, handy to use for any other weapons being used in the future.

No comments:
Post a Comment